Pages

Rodomi pranešimai su žymėmis DIY. Rodyti visus pranešimus

2018 m. rugsėjo 23 d., sekmadienis

Sunny Autumn Morning + Apple Candleholder D.I.Y.

Saule Troboje

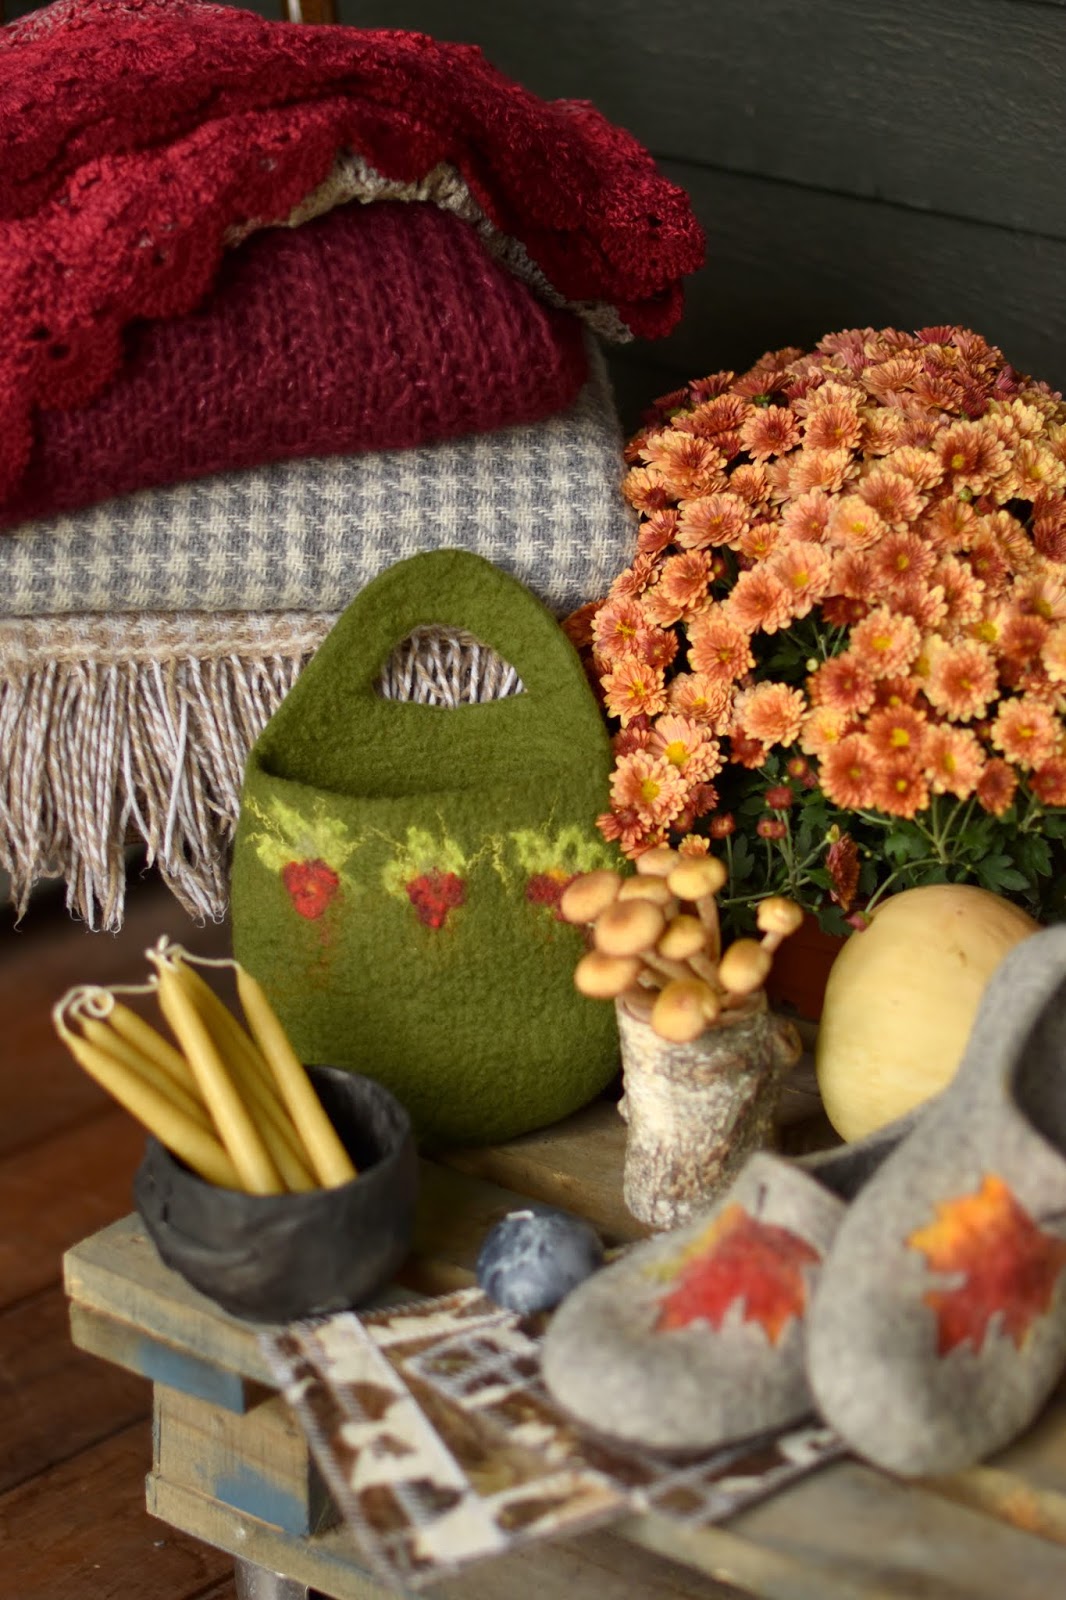
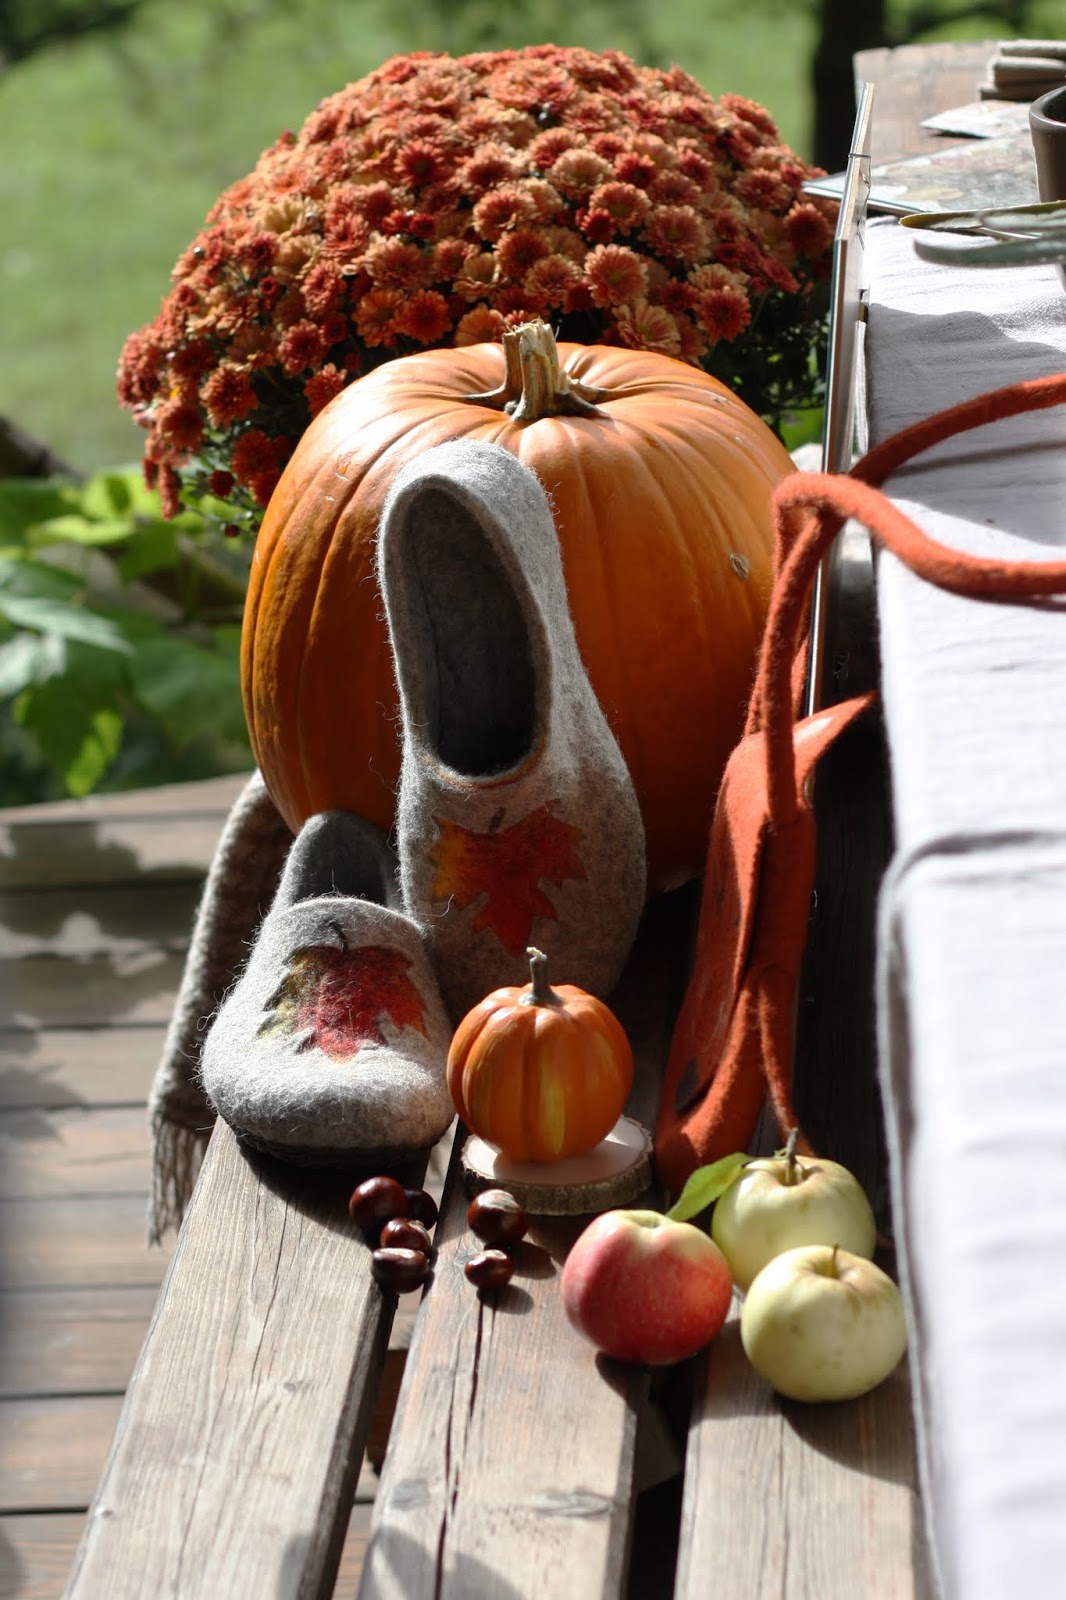
It was windy and the sky was sprinkling fine water droplets, we couldn't believe, that Autumn is going hand in hand with the calendar... By the time we gathered all together, sky went clear and the sun came out just for a perfect day in the country side. We were meeting for a casual, but not that frequent Etsy Lithuania team meeting at a gorgeous house surrounded by forest not too far from Molėtai town.
Our hostess Jurga harvested pumpkins, leafy greens for a soup and some freshly picked mushrooms from the forest near by. Naturally it all became a part of arrangements, including snacks, coffee mugs and of course our handcrafted items. While chatting, laughing, sipping coffee, talking some important stuff we managed to take some vibrant seasonal pictures and tried a simple D.I.Y ideal for setting an Autumn inspired table.






Fresh apple candle holders are great idea to decorate fall or thanksgiving table, looks cute and so easy to make!
All you need is apples, vegetable peeler and candles.
Place apples on flat surface and measure diameter of your candle.
Cut out the shape of the candle and dig out the apple so that the candle will fit nicely inside. You can brush some lemon juice on the apple (especially the edges)to help prevent it from going brown.
Set it on your festive table, lit up and enjoy! (follow c
andle burning instructions and fire safety as well...) 
Participants:
AgnesFelt - www.agnesfelt.etsy.com
EgleVintage - www.eglevintage.etsy.com
JurgaFeltLife - www.JurgaFeltLife.etsy.com
LessCandles - www.lesscandles.etsy.com
ManoMonai - www.manomonai.etsy.com
Troboje - www.troboje.etsy.com
Zwoodz - www.zwoodz.etsy.com

2018 m. rugsėjo 17 d., pirmadienis

DIY time: magic stick!

Gintare from Minicamplt
Pictures by Raimonda Vysnia and Daine Photography


If you are a parent and have a daughter, most probably at one point of your life you'll hear that she wants to be a princess or fairy. Or even better... she wants a magic wand, so that she could wave it and... have all the sweets of the world, travel to one place to another within a minute, watch movies all day long, do not attend nursery etc. etc. etc... 😊

When the day comes, find some time, some left over fabric, a chop stick, beads, glue, invite your fairy-to be to join and lets make a unique magic stick!


You will need:


Start with a piece of paper to draw (print) the desired form (e.g. a star, a heart, a lotus, etc.).


Cut the shape out of the fabric you have


You will need 2 pcs. of the fabric


Sew or glue the 2 pieces together, leaving a hole at the bottom


You can sew the good side up, unless you want it to look super neat.


Put some polly fill or cotton through the hole at the bottom


The result should look something like this


Prepare different ribbons, strings, beads and bells


Put all the details of the decoration into one and tie it together


Insert into the fabric part


Time for a stick - if you do not have a stick that fits, use a chop stick. Insert the stick into the fabric part

Finish with hot glue gun (carefully - very hot!)
Volee! Your last minute gift is ready


Time for the stars!


2018 m. kovo 23 d., penktadienis

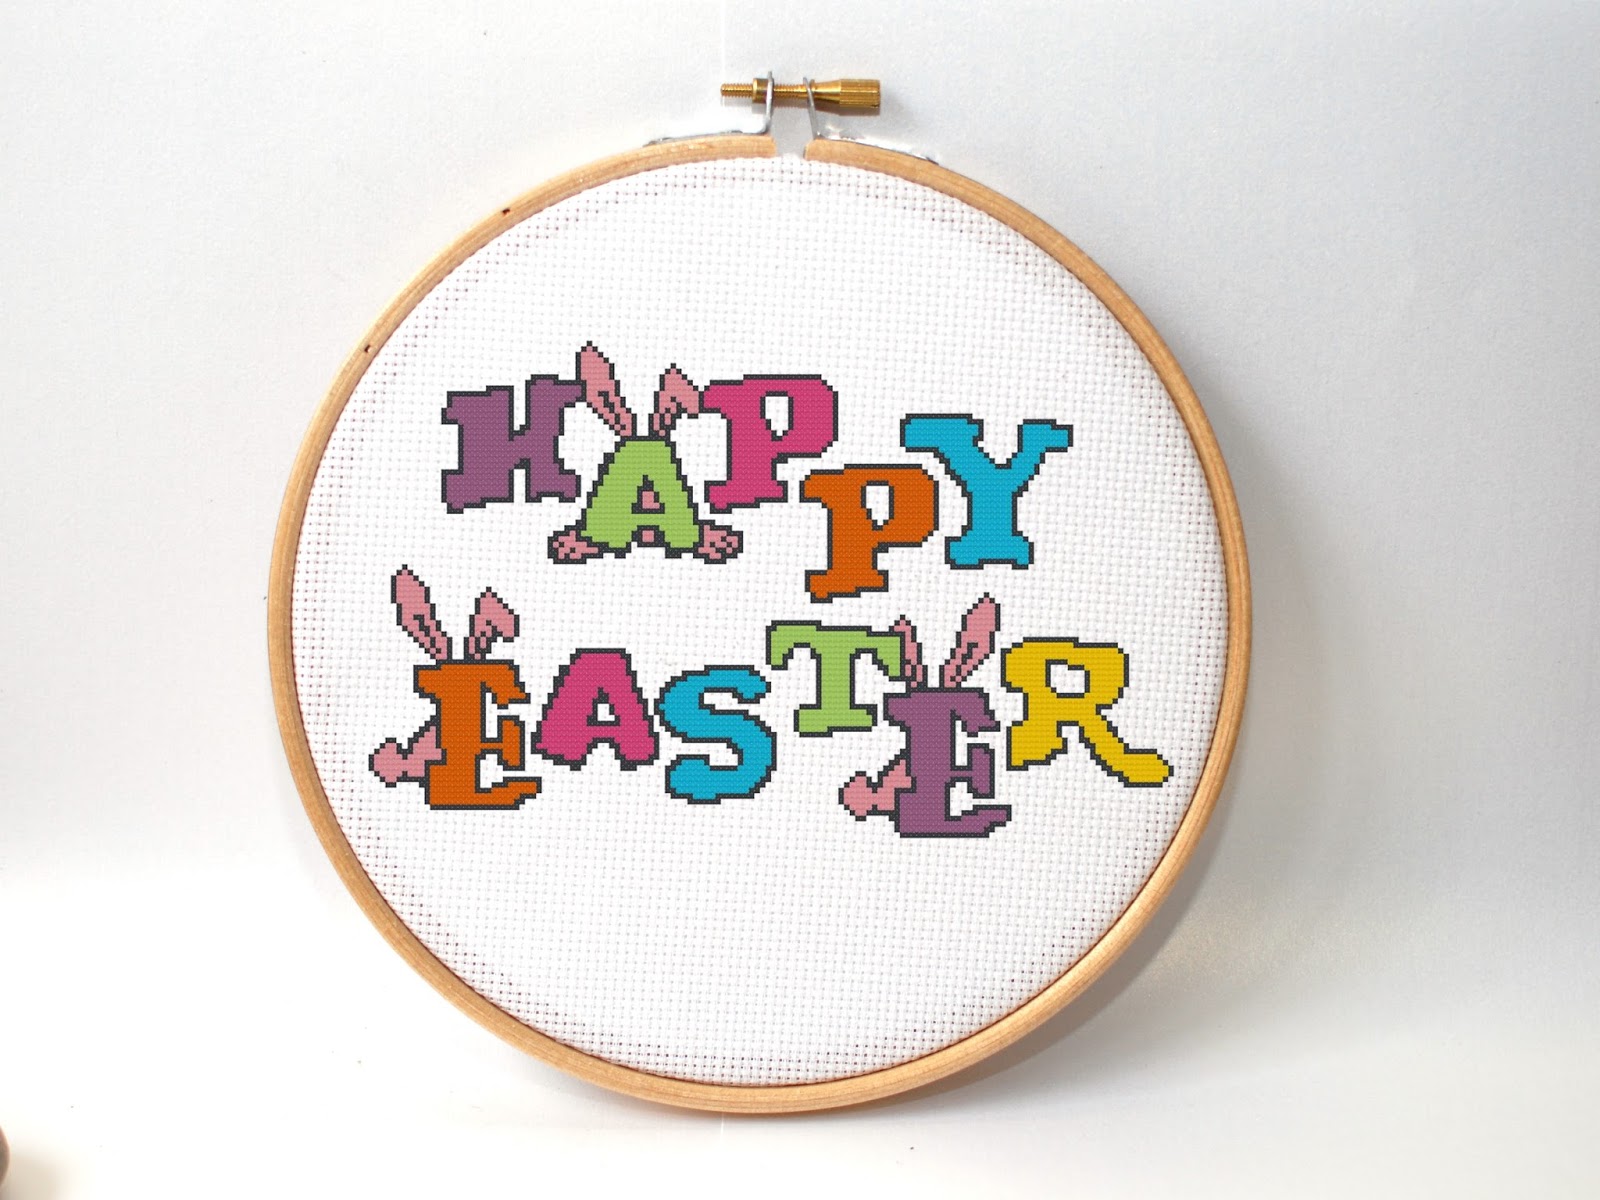
FREE cross stitch pattern. Easter

By Simona from XOstitch

Have heard that? Easter bunnies are coming soon! Hop Hop Hop! This means only one thing, Easter celebration is almost here. So it's the perfect time to decorate your home and start thinking about all the preparations.
Our teammate Simona from XOstitch created this cheerful pattern for you all to make. So grab your stitching materials and  make these last days till Easter festive, with this cross stitch project!

Download the pattern here: download


Download the pattern here: download

2018 m. kovo 15 d., ketvirtadienis

DIY Easter Egg Candles

Created by Asta from LessCandles

Easter is coming soon and to keep the wait more exiting here's a fun DIY for you and your family to make! Make your own Easter gifts. These colorful candles will be the star of your dinning table.
So gather all your supplies and dig in something truly amazing.


You will need:
1. This kit - available here
2. 10 Empty egg shells, about half of eggshell.
3. Pot for water boiling.
4. Some small metal pots, it could be used and cuted cans.
5. Metal spoon.
6. Cooker.
1. Save your cracked in half eggs from your last meal. Wash the eggshells and let them
dry completely.
Note: Be sure to wash your hands throughout whenever handling raw eggs.
2. Place dried eggshells into an egg carton.


3. Place the wax in the smaller inner pan of the double boiler and let it melt over a medium
heat. I use small metal pot, also it could be used and cuted cans. Don’t leave it unattended
as it’s flamable.
4. When the wax is melted, place a spoonful of the wax at the bottom of eggshell and
insert in the wick.
I use usual metal spoon, after the use just wash it with hot water.
5. Then the wax around the wick hardens, pour in the rest of the hot wax., filling the
eggshell about halfway. Wick must be left about 1cm (0,4 inches) unfilled. If you fill too
much wax the candle could have too small light. Let them sit in the egg carton until they
were hard and cool.

6. When the wax cools and hardens, you will have a beautiful centerpiece, perfect for
lighting up the holiday table. Best way for burning is to use egg holders, burning time about
4 hours.

2017 m. spalio 27 d., penktadienis

Day of Apple pie. DIY

by Agnė from Agnera 

It seems there is no person in the world who wouldn't like apple pie!  Someone loves pie with ice cream, someone's favorite is pie with hot homemade cacao or a lot of cinnamon... 

Today we prepared you tasty egg and flour free apple pie recipe.


You will need the following: 

- 2 kg of apples
- 15 tablespoon of sugar
- 15 tablespoon of semolina
-  slice of butter
- cinnamon


Directions: 

1. Preheat the oven 190°C degrees (or 374 °F)
2. Peel and grate apples.
3.  Mix 15 tablespoon of sugar with 15 tablespoon of semolina together.
4. Oil pie mold with butter and put 1-2 tablespoon of sugar-semolina mix to fill all surface. 
5. Put grated apples over all surface, then put sugar-semolina mix on the top. Repeat the same for 3-4 layers. It depends how much grated apples do you have. The final top of pie should be sugar-semolina mix. 
6. Put slices of butter on the final sugar-semolina mix. It will make crispy top. 
7. Place the pie into oven for 1 hour. It starts to get golden brown on the top and begins to firm up a bit. 

Tasty greetings from Lithuania Etsy Team!


Candles from MiLiCrafts
Miniature cookie pins from DzyDzy Design 

Polka dot linen towel from Linen Home shop


Mug from phOceramics

"Let's stay in bed" Quote print by MusesLt

Cup coaster  with real coffee beans from Agnera

Ceramic apple figurine from Cozy Home ideas